Kubernetes Test 01: Simple Deployment & Configuration Walkthrough
A test project for Kubernetes deployments and configurations.
Step 1: Install kubectl
To manage your Kubernetes cluster, the kubectl CLI is required. Download and install it:
user@host:~/k8s$ curl -LO "https://dl.k8s.io/release/$(curl -L -s https://dl.k8s.io/release/stable.txt)/bin/linux/amd64/kubectl"
> 100   138  100   138    0     0    794      0 --:--:-- --:--:-- --:--:--   793
> 100 57.7M  100 57.7M    0     0   115M      0 --:--:-- --:--:-- --:--:--  115M
Step 2: Make kubectl executable and move to PATH
After downloading, make kubectl executable and move it to your system path:
user@host:~/k8s$ chmod +x kubectl
user@host:~/k8s$ sudo mv kubectl /usr/local/bin/kubectl
Step 3: Create kubeconfig file
Generate a kubeconfig file using secrets from your Linode cluster.
This file stores access credentials and cluster information.
user@host:~/k8s$ nano kubeconfig.yaml
apiVersion: v1
kind: Config
preferences: {}

clusters:
- cluster:
    certificate-authority-data: [CERTIFICATE_AUTHORITY_DATA_BASE64_ENCODED]
    server: [CLUSTER_CONTROL_PLANE_URL]
  name: [CLUSTER_NAME]

users:
- name: [CLUSTER_NAME]-admin
  user:
    as-user-extra: {}
    token: [JWT_TOKEN_BASE64_ENCODED]

contexts:
- context:
    cluster: [CLUSTER_NAME]
    namespace: [NAMESPACE]
    user: [CLUSTER_NAME]-admin
  name: [CLUSTER_NAME]-ctx

current-context: [CLUSTER_NAME]-ctx
Step 4: Set KUBECONFIG environment variable
Point kubectl to your kubeconfig:
user@host:~/k8s$ export KUBECONFIG=kubeconfig.yaml
Step 5: Verify cluster connection
List nodes in your cluster to confirm connectivity:
user@host:~/k8s$ kubectl get nodes
> NAME        STATUS   ROLES    AGE   VERSION
> [NODE_1]    Ready    <none>   19m   v1.34.0
> [NODE_2]    Ready    <none>   19m   v1.34.0
> [NODE_3]    Ready    <none>   19m   v1.34.0
Step 6: Get cluster information
Check cluster details:
user@host:~/k8s$ kubectl cluster-info
> Kubernetes control plane is running at [CLUSTER_CONTROL_PLANE_URL]
> KubeDNS is running at [CLUSTER_CONTROL_PLANE_URL]/api/.../kube-dns:dns/proxy
Step 7: Deploy a test application
Start a minimal deployment with the built-in “hello-kubernetes” image:
user@host:~/k8s$ kubectl run hello-k8s --image=paulbouwer/hello-kubernetes:1.10.1 --port=8080
> pod/hello-k8s created

user@host:~/k8s$ kubectl get pods
> NAME        READY   STATUS    RESTARTS   AGE
> hello-k8s   1/1     Running   0          10s
Step 8: Describe pod
Detail the running pod:
user@host:~/k8s$ kubectl describe pods
> Name:             hello-k8s
> Namespace:        default
> Node:             [NODE_2]/[NODE_INTERNAL_IP]
> IP:               [POD_IP_1]
> Status:           Running
Step 9: Delete test pod
Remove the demo pod:
user@host:~/k8s$ kubectl delete pod hello-k8s
> pod "hello-k8s" deleted
Step 10: Deploy using YAML manifest
Apply a YAML manifest for a multi-replica deployment:
user@host:~/k8s$ kubectl apply -f hello-deployment.yaml
> deployment.apps/hello-k8s-deployment created
Deployment manifest example:
apiVersion: apps/v1
kind: Deployment
metadata:
  name: hello-k8s-deployment
spec:
  replicas: 3
  selector:
    matchLabels:
      app: hello-k8s
  template:
    metadata:
      labels:
        app: hello-k8s
    spec:
      containers:
      - name: hello-k8s
        image: paulbouwer/hello-kubernetes:1.10.1
        ports:
        - containerPort: 8080
Step 11: Verify deployment pods
Inspect new pods created by the deployment:
user@host:~/k8s$ kubectl get pods
> hello-k8s-deployment-[HASH]   1/1   Running   0   58s
> hello-k8s-deployment-[HASH]   1/1   Running   0   58s
> hello-k8s-deployment-[HASH]   1/1   Running   0   58s
Step 12: View pod details (wide output)
Get additional pod info such as IP and node assignment:
user@host:~/k8s$ kubectl get pods -o wide
> NAME                                 IP           NODE
> hello-k8s-deployment-[HASH_1]       [POD_IP_2]   [NODE_1]
> hello-k8s-deployment-[HASH_2]       [POD_IP_3]   [NODE_3]
> hello-k8s-deployment-[HASH_3]       [POD_IP_4]   [NODE_2]
Step 13: Create and apply Service
Expose the deployment using a LoadBalancer service:
user@host:~/k8s$ kubectl apply -f hello-service.yaml
> service/hello-k8s-service created

user@host:~/k8s$ kubectl get svc hello-k8s-service
> NAME                TYPE           CLUSTER-IP      EXTERNAL-IP      PORT(S)        AGE
> hello-k8s-service   LoadBalancer   [CLUSTER_IP]    [PUBLIC_IP]      80:30169/TCP   14s
Service manifest sample:
apiVersion: v1
kind: Service
metadata:
  name: hello-k8s-service
spec:
  type: LoadBalancer
  selector:
    app: hello-k8s
  ports:
  - port: 80
    targetPort: 8080
Step 14: View all pods
List pods across all namespaces for overview and troubleshooting:
user@host:~/k8s$ kubectl get pods --all-namespaces
> default       hello-k8s-deployment-[HASH]    1/1   Running
> kube-system   calico-node-[X]                1/1   Running
> kube-system   coredns-[X]                    1/1   Running
> kube-system   kube-proxy-[X]                 1/1   Running
Step 15: Create new namespace and deploy into it
Isolate resources with a namespace, and deploy into it:
user@host:~/k8s$ kubectl create namespace demo
> namespace/demo created

user@host:~/k8s$ kubectl apply -f hello-deployment.yaml -n demo
> deployment.apps/hello-k8s-deployment created

user@host:~/k8s$ kubectl apply -f hello-service.yaml -n demo
> service/hello-k8s-service created
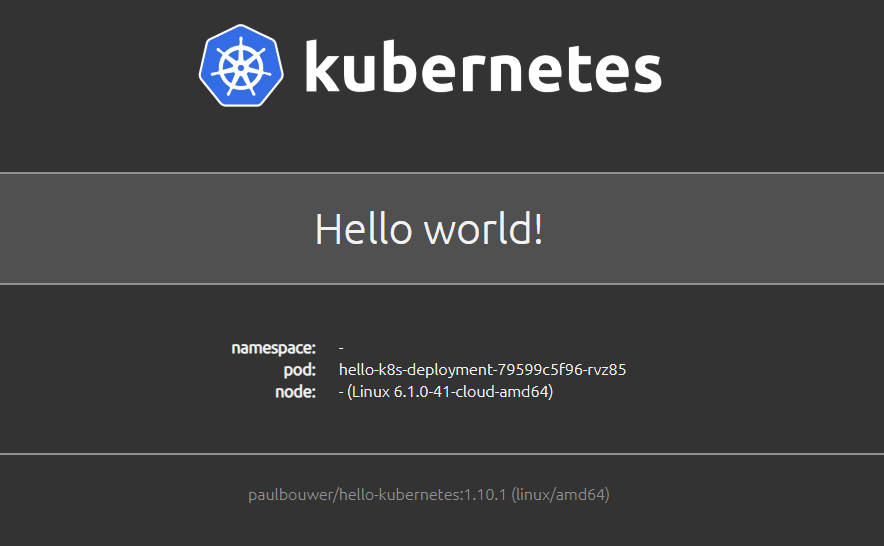
Step 16: Test external access
Get the external IP for the service and test access:
user@host:~/k8s$ curl 172.232.131.83
> Hello world!
> namespace: -
> pod: hello-k8s-deployment-[HASH]
> node: - (Linux 6.1.0-41-cloud-amd64)
End.